You’re in a Zoom meeting for a work project or online class and want to record it for later reference. But the host hasn’t been permitted to record. What do you do? In 2026, using a screen recorder to record a Zoom meeting without permission will be easier than you think. Whether you need to capture notes, save the discussion for a future project, or just want to review the meeting later, some tools allow you to do just that, even without the host’s approval.
But recording without permission might be accepted by some and may even be illegal in some places. Always inform the participants beforehand, check the recording tab, and respect their privacy. In this article, we’ll go through a few methods, including using Bluedot or screen recording software, so you can record your Zoom meeting without interrupting the flow or needing special permissions.
How To Record A Zoom Without The Host's Permission
In some cases, you need to record a Zoom meeting but don’t have the host’s permission. While Zoom’s default settings require the host to grant permission to record, there are a few ways to capture the meeting without needing explicit authorization. Here are some methods to perform a meeting recording for a Zoom meeting without permission:
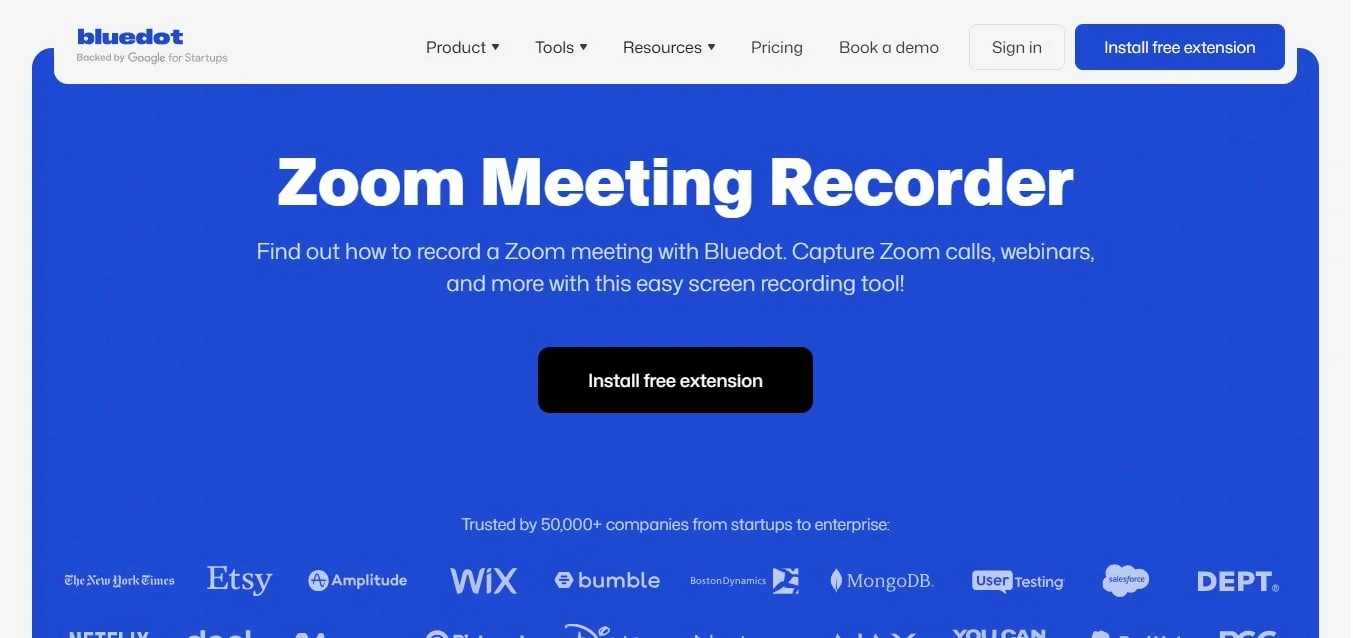
- Using the Bluedot Chrome Extension
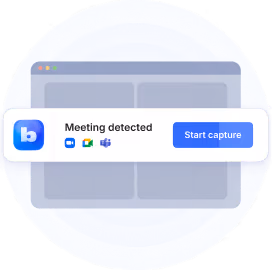
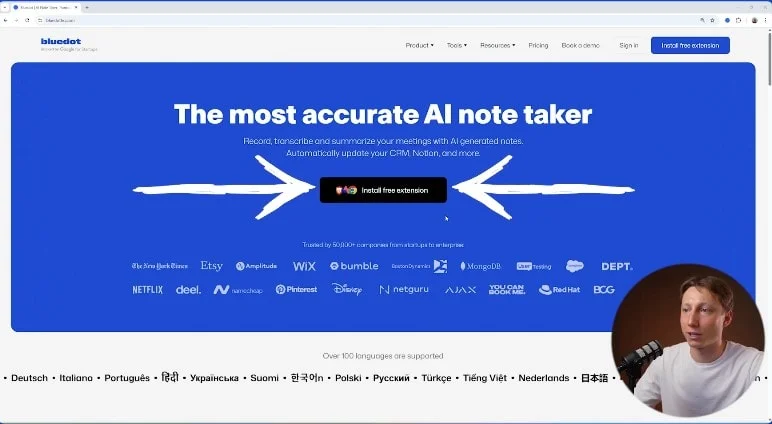
With the Bluedot Chrome extension, you can record Zoom meetings even if you’re not the host. The extension captures everything on your screen, including the meeting audio and video. Just install the extension, start your Zoom meeting, tap start recording, and click meetings to access the Bluedot icon in your browser to start recording.
Our Zoom meeting recorder is non-intrusive and doesn’t require recording permission from the host, making it ideal for creating an audio-only file.
You can enable this in the Zoom settings on your computer before your meeting starts.
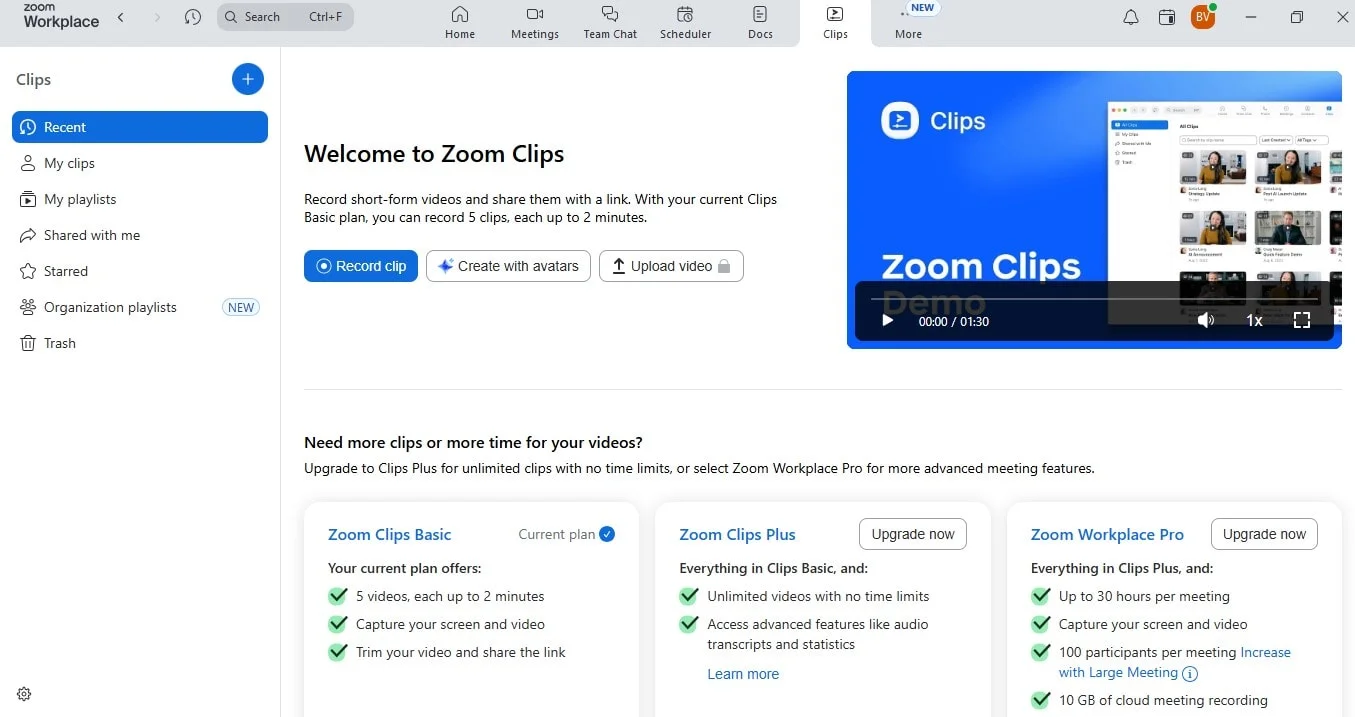
- Recording with a Zoom Account
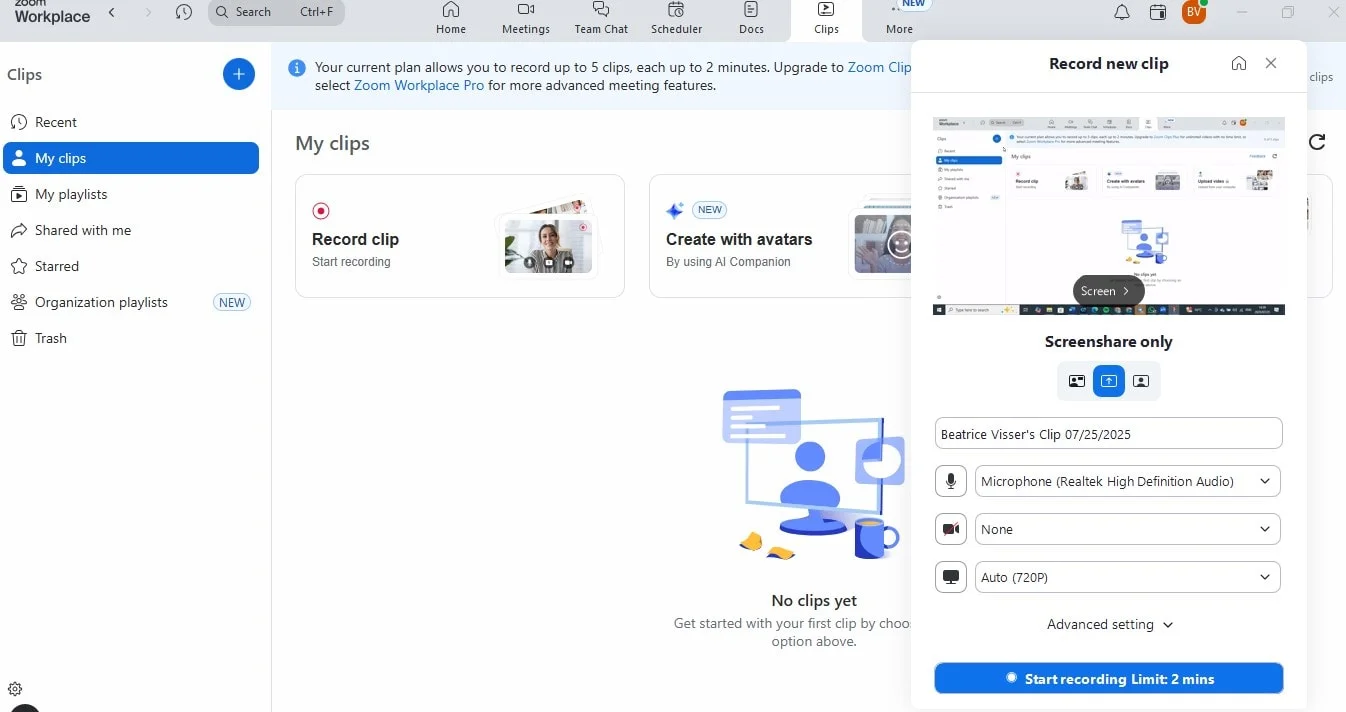
If you have a paid Zoom account, you can set up recording even if you’re not the host, as long as the meeting host has granted recording privileges and allows recording. While this requires some cooperation from the host, having access to recording means your recordings are saved, so you can access and share later. There is a free trial to test out for up to 5 meetings of 2 minutes each.
- Cloud recording
Another option is that you can record your Zoom meetings to the cloud, but this option is only available for paid and licensed Zoom accounts (Pro, Business, or Enterprise plans), and you have to be the host of the meeting to be able to do this. With cloud recording, your meeting recordings are saved to the cloud, where you can access, share, or download them later.
To record to the cloud:
- Make sure cloud recording is enabled in your Zoom settings.
- Start your Zoom meeting.
- Click the Record button in the meeting controls and select Record to the Cloud.
- Once the meeting ends, the recording will automatically upload to the Zoom cloud, where you can access it from the web portal.
One thing to keep in mind when using cloud recording is the storage limit. The amount of storage you get depends on your plan (free, pro, or business). Free Zoom accounts have limited storage and may not support long or frequent meetings. Paid subscribers get more storage, which is ideal if you plan to record meetings regularly. You can check your available storage in your Zoom account settings.
Local recording saves your Zoom meeting directly to your computer’s hard disk or in your documents. This option is great if you want to keep your recordings on your device and have direct control over where and how they are stored.
By default, local recordings are saved to your hard disk in a folder labeled "Zoom". You can change the default recording location in your Zoom settings if you prefer a different folder or location on your computer.
Record your Zoom Meeting with Bluedot
To record your Zoom meeting with Bluedot:
1. Install the Extension: Add the Bluedot extension to your browser.
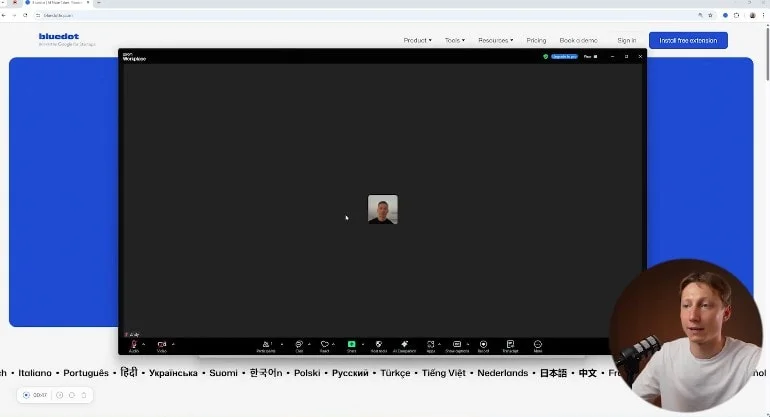
2. Start a Zoom Meeting: Begin your Zoom meeting as usual.
3. Click the Extension Icon:
- Choose to record with or without video.
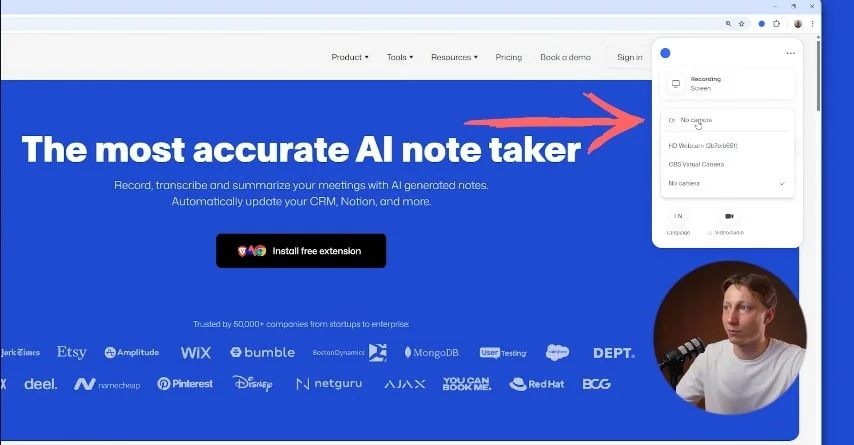
- Select your microphone

- And pick the language for the recording.

4. Begin Recording:
- Click the start recording button.

- Select the screen you want to record.
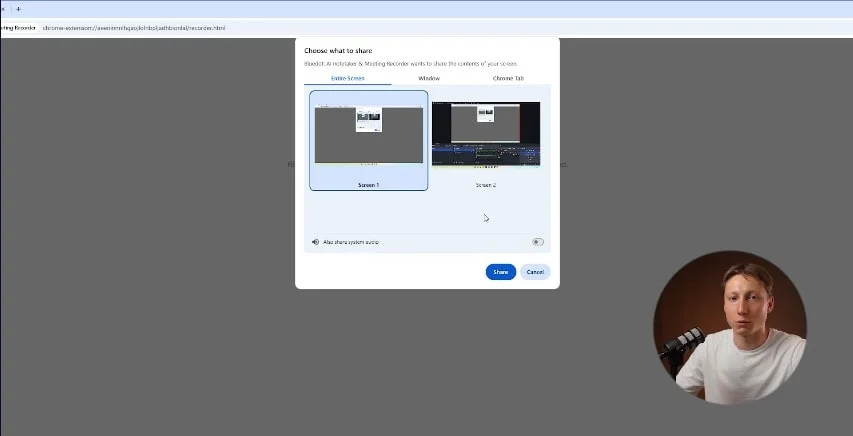
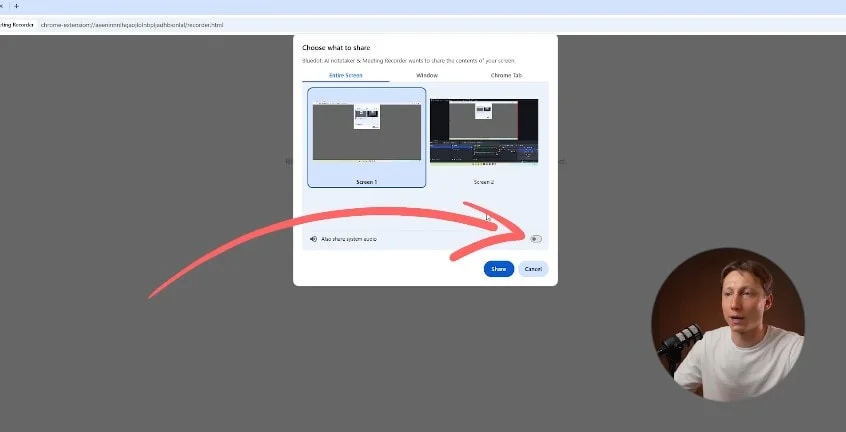
- And make sure to check “share system audio”.
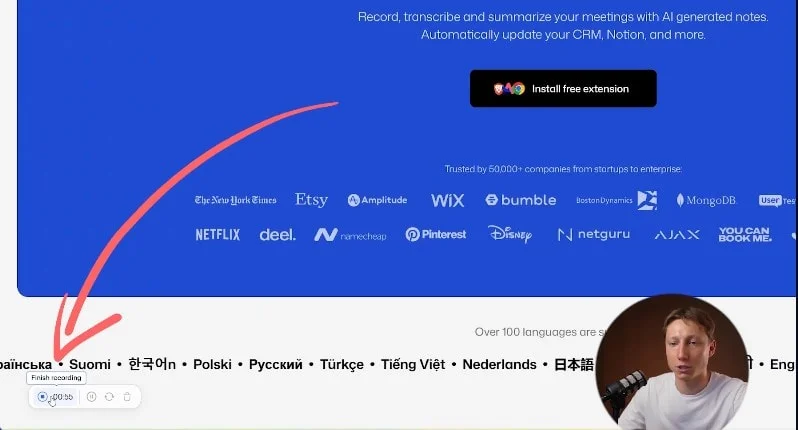
5. Stop Recording: When the meeting ends, click finish recording in your browser, and Bluedot will open a link to your Zoom recording.
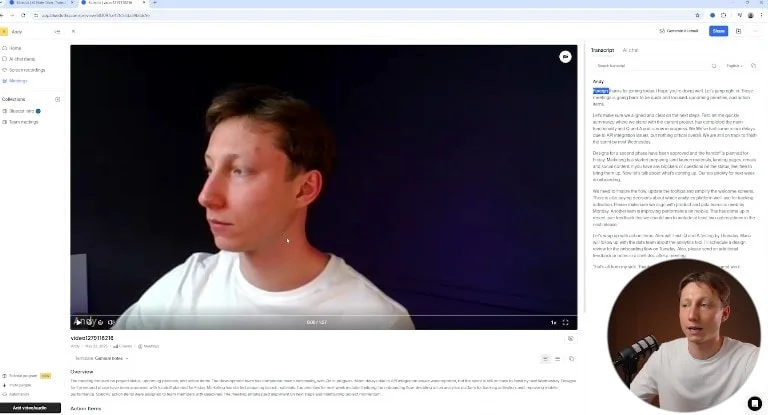
6. View and Edit: The Zoom recording will include a transcript, speaker identification, and an AI-generated summary. You can search the transcript or change the summary format with just a click.
How to Record a Zoom Meeting Without Permission
- Before You Begin
Recording a Zoom meeting without permission can be tricky, as you won’t have access to the record button by default. However, if you want to record a Zoom meeting without needing host permissions, you’ll need to use alternative methods like Bluedot or third-party Zoom recording software. These tools capture everything happening on your screen, including video and audio settings, without relying on Zoom’s built-in recording features. - Starting the Recording
Whether you’re using Bluedot or any other Zoom recording software, starting the recording process is easy. For Bluedot, just install the extension, start your Zoom meeting, and click the Bluedot icon in your browser. It will automatically record the meeting without the host’s permission. If you’re using recording software, just open the software, select the Zoom app, and hit record. - Screen recording
To capture the whole Zoom recording, including any recording files, screen recording software is your best bet. These tools let you record everything happening on your screen, making it ideal for capturing presentations or multi-participant conversations. You can start recording by selecting the Zoom window and sharing your screen. This method allows you to capture both the audio and video of the meeting without needing any special permissions from the host. - Record only audio or video
If you’re interested in only recording audio or video, you can use the audio-only recording option in your screen recording software. Alternatively, you can adjust settings in Bluedot to capture audio from the meeting or use a third-party tool that records audio independently. These options let you record key discussions without needing the video, so a simpler file for sharing or personal use. - Capturing shared screen
When recording with Bluedot or screen recording software, make sure to enable screen sharing before you start recording so the shared screen is captured. Whether you’re sharing documents, slides, or other content, starting the screen share feature will automatically capture everything shown on your screen during the meeting, including the meeting participants and the content being presented.
Recording Files: Where to Find Them After the Meeting
After your Zoom meeting ends, your recording will be saved either to the Zoom cloud or your local hard disk. If it’s a cloud recording, just log in to the Zoom web portal to access it. For local recordings, they’re usually saved in a Zoom folder within your documents folder or directly on your hard disk.
To view your recorded video, just go to the Zoom cloud or the folder where the local recording is stored. If you’re dealing with a local recording, Zoom will ask you to click convert to turn the file into a standard format like MP4 so you can easily watch or share it.
Once your recording is complete, your Zoom meeting will be saved either on Bluedot or your local hard disk if you’re using screen recording software. For Bluedot, the recording will automatically be stored in your browser. If you’re using screen recording software, the file will typically save in your documents or a folder you select. Always make sure to check the file format (like MP4) and conversion settings so you can easily access and share the recording later. If you decide to record with Bluedot, then you will have meeting notes to accompany your Zoom meeting recording as well.
Tips for Recording a Zoom Meeting Without Permission
If you need to record a Zoom meeting without permission, you can use Zoom’s built-in recording software or third-party tools like Bluedot and screen recording software. While Zoom’s recording software requires the host’s permission, using Bluedot or screen recording tools bypasses this limitation and lets you record meetings directly from your desktop or mobile device.
With Bluedot, make sure your microphone is working well and you’re in a quiet environment to avoid background noise. You can also adjust the layout between gallery view (showing all participants) and active speaker (focusing on the person talking). Active speaker mode is useful for ensuring the main speaker is clear, especially when you’re recording without permission. If you’re using screen recording software, make sure you’re capturing both video and audio from the meeting, whether you’re on the Zoom desktop app or a mobile device. You may need to adjust your audio settings to make sure all participants’ voices are picked up, especially if the speakers are in different locations.
Bluedot doesn’t use bots or send notifications during your video recording, but it’s important to note that recording without permission is illegal in some states or countries. To avoid potential legal issues, it’s always a good practice to inform participants that you’re recording the meeting, even if you’re using tools that don’t alert them automatically. Respecting privacy and being transparent can help maintain trust while recording without host permissions.
Troubleshooting Zoom Recording Issues
If you can’t find the record button on your Zoom window, it usually means you don’t have the right recording privileges. If you’re the host, make sure recording is enabled in your Zoom settings. If you’re a participant, ask the host to permit you to record. If the meeting host doesn’t have recording privileges, they can enable them through the recording options in the upper left corner of the Zoom web portal under settings.
If Zoom fails to record or stops recording, there could be a few different reasons. First, check your internet connection as an unstable connection can affect recording. If you’re having trouble with video or audio recording, make sure your settings are properly configured. Sometimes restarting the meeting or Zoom app can resolve these issues. You might also want to check that you have enough storage space for the recording, especially if you’re recording locally.
Conclusion
In 2026, you can easily learn how to record a Zoom meeting without permission using Bluedot, screen recording software, or by adjusting your audio and video settings. These options give you full control over your Zoom recordings, whether you’re on mobile or desktop. However, always remember that recording without consent may be illegal in some areas, so always notify participants beforehand. Finally, following a step-by-step guide always makes sure your Zoom recordings are stored and organized properly for easy access and sharing.
Recording meetings can be really useful for keeping track of important discussions, whether it’s for business, education, or personal use. It lets you revisit key points, share the Zoom recording with others, or just make sure you didn’t miss anything.
But remember, in some places recording a video file without permission is illegal, so it’s always a good idea to let participants know ahead of time that you’ll be recording. Store and organize your Zoom recordings, and before you start and stop recording, always check.