Running a test zoom meeting before your next meeting is the easiest way to avoid awkward technical issues. A quick Zoom test helps you check your audio, video, and internet connection, so you can join any call with confidence. Whether it’s a casual catch-up or a critical client presentation, a Zoom test meeting makes sure everything runs smoothly from the moment you click “join.” Running a preview video will make it seem like you're all set when your meeting picks up.
Why a Zoom Test Call Matters
Taking a few minutes for a test meeting can make all the difference in your next meeting. By testing your audio, video, and internet connection ahead of time, you can spot and fix issues before they disrupt the conversation. This is especially valuable for high-stakes situations like job interviews, client presentations, or hosting webinars where professionalism matters. Running a quick test zoom meeting builds confidence, saves time, and ensures you can join the real call smoothly and without stress - allowing you to focus entirely on the discussion instead of technical hiccups.
How to Join Meeting Test (Step-by-Step Guide)
Step 1: Open your browser and go to the official Zoom account page.
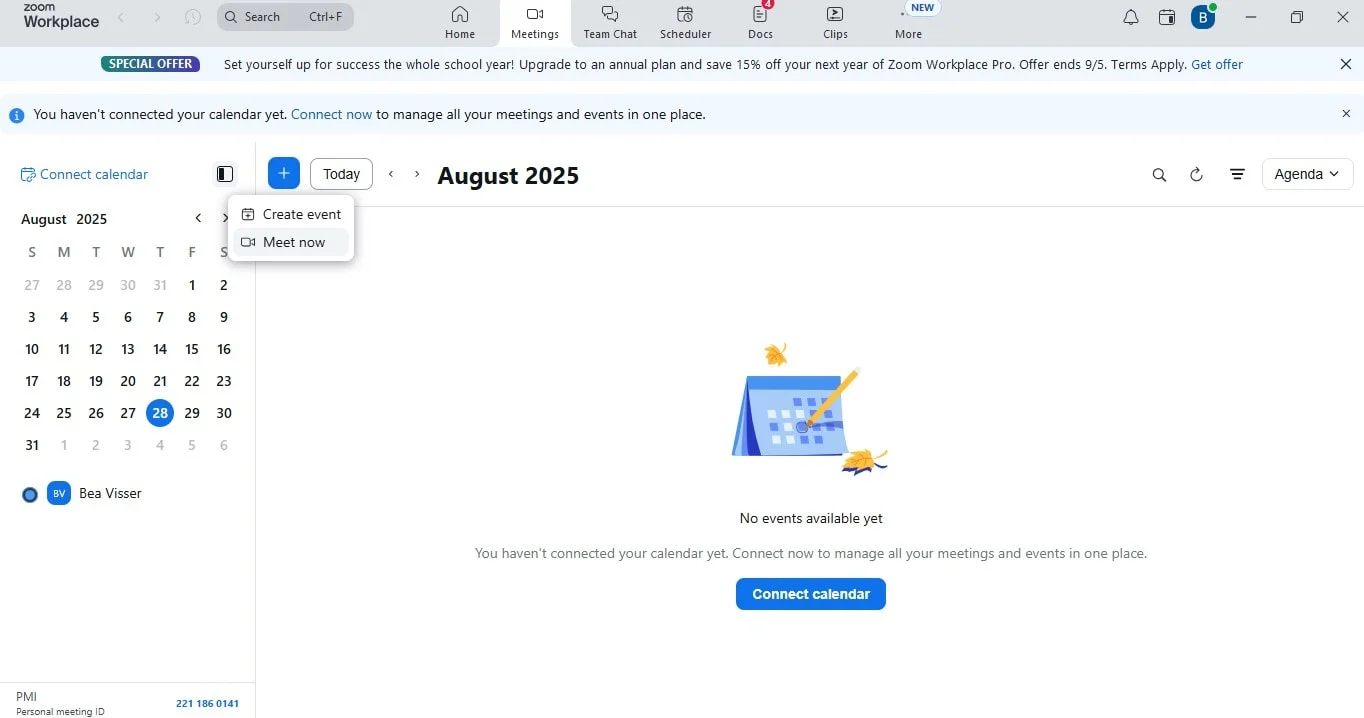
Step 2: Click “Join” or "Start Meeting" to launch Zoom. If prompted, sign in to your Zoom account or use the Zoom app or Zoom mobile app.
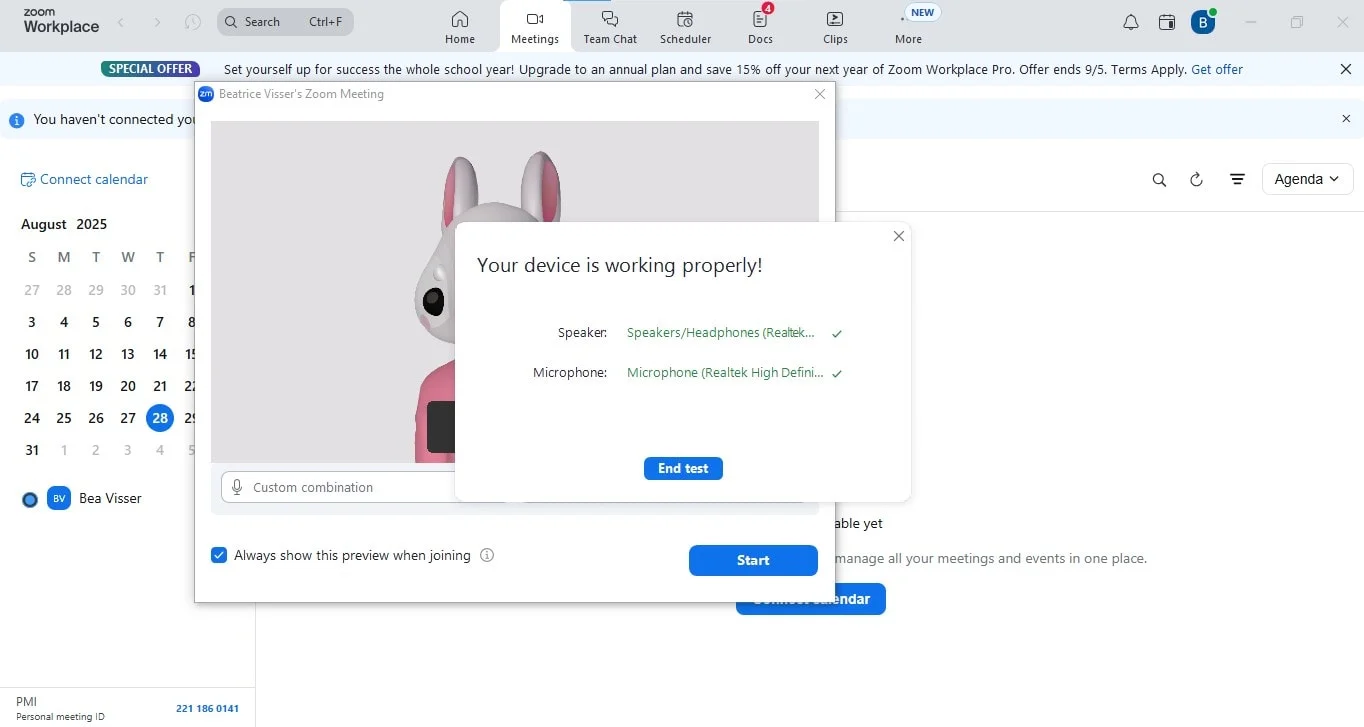
Step 3: Test meeting your audio using the “Test Speaker & Microphone” option in the menu to ensure your microphone and speakers are working perfectly.

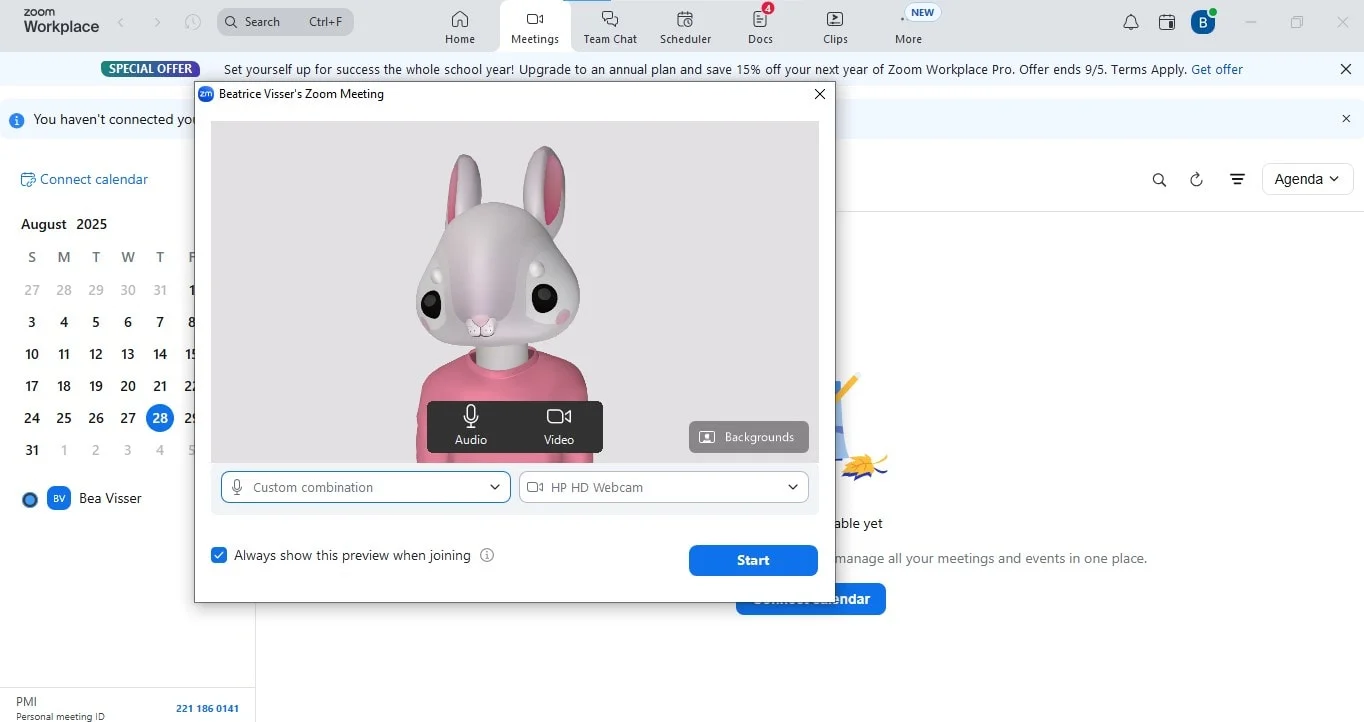
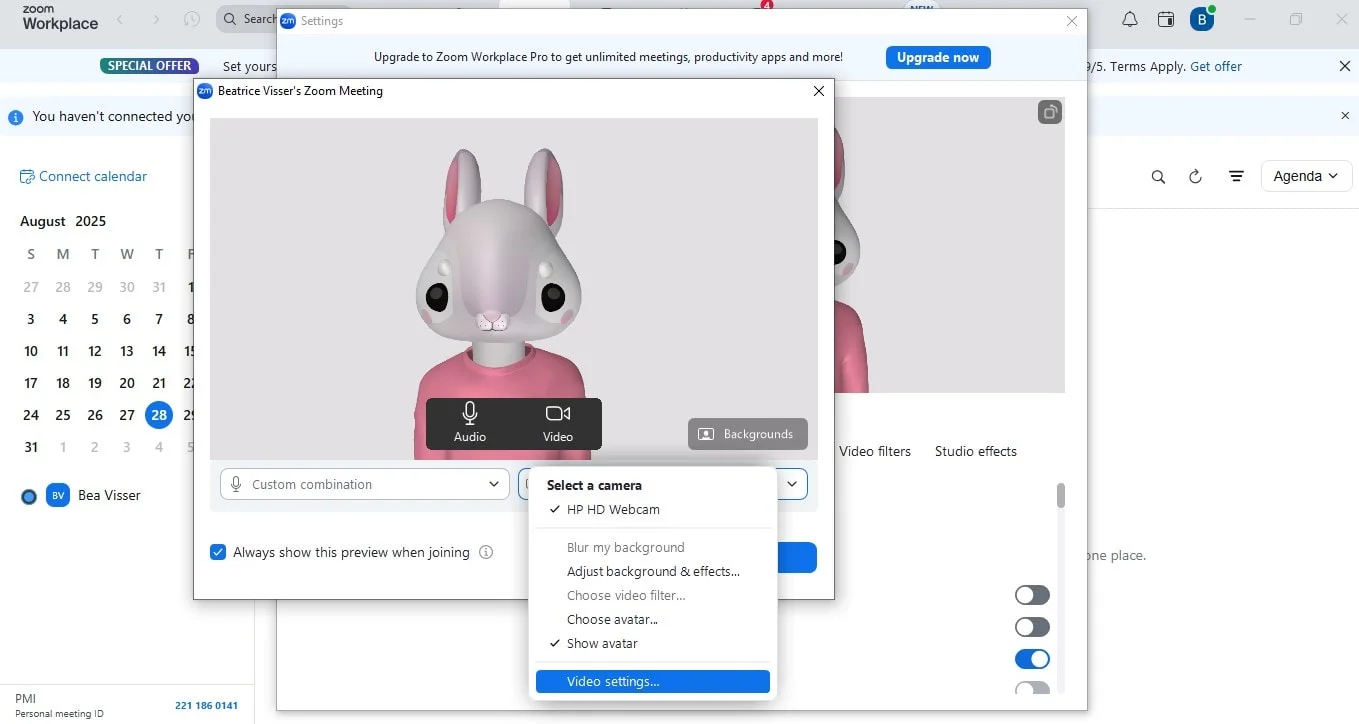
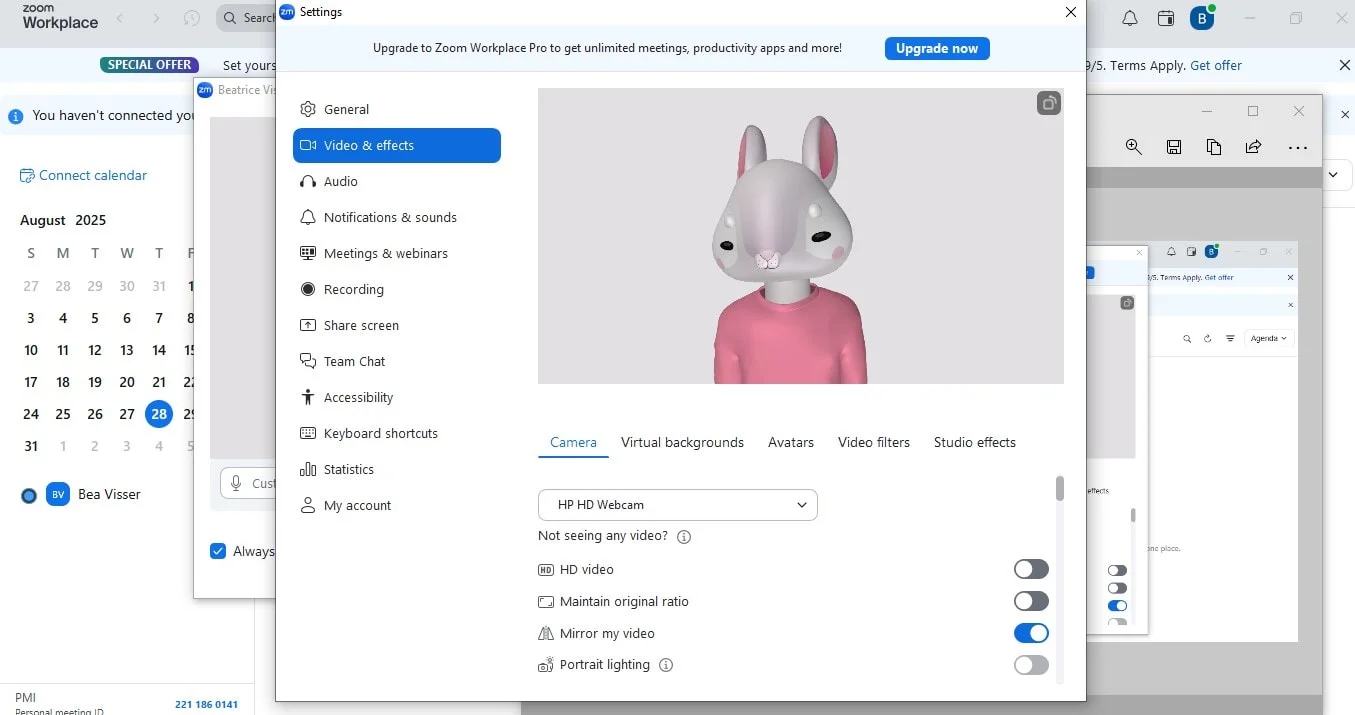
Step 4: Use the video preview to check your lighting and background. If needed, click settings to fine-tune your video settings or even update your profile picture for a polished look.
Step 5: Review your internet connection stability by sharing your screen or toggling between features to ensure everything runs smoothly.
Pro tip: Repeat this test Zoom meeting whenever you’re using a new device, headset, or the Zoom app on mobile. You can even try out virtual backgrounds in the Zoom app.
Common Issues and Quick Fixes When Joining a Zoom
Even after running a Zoom test meeting, you might still encounter small issues. Here’s how to fix the most common ones regarding internet and device settings when you join meeting test:
Poor audio
Check your microphone permissions in the zoom app or switch to a reliable headset when joining the test meeting.
Video lag (internet connection)
Close unnecessary apps or move closer to your router to strengthen your internet connection during the test meeting.
Outdated Zoom app (internet and device settings)
Regularly update your zoom meeting application to avoid glitches when you join a meeting.
Echo or feedback
Use headphones or mute other nearby devices to eliminate distracting noise before you join the test meeting.
Camera not working
Make sure no other apps are using your camera, and check your video settings in the drop-down menu after you launch Zoom.
Make Test Calls More Productive with Bluedot
After your Zoom meeting test call, take your preparation a step further with Bluedot. With bot-free recording, you can capture every detail of your Zoom meeting without interruptions. Bluedot’s AI-powered transcription notes and summaries make it easy to review your test setup or revisit key points from real calls, and finding your recordings later is easy. For global teams, multilingual transcription supports over 100 languages, making collaboration easy no matter where participants are joining from.
Conclusion
Running a quick test meeting is the simplest way to guarantee a smooth, professional meeting with clear audio, sharp video, and a stable internet connection, including a thorough test meeting before joining a Zoom. Pair it with Bluedot, and you’ll take every Zoom meeting - whether it’s a test Zoom meeting or a high-stakes presentation - to the next level. With automated recording, accurate transcription, and AI-powered summaries, Bluedot keeps your Zoom meetings organized, insightful, and ready to share in just a few clicks.